Showing posts with label sewing. Show all posts

Wednesday, June 4, 2014

Early 1700's Gentleman's Breeches - linen

File:Troost Music lover.jpg

There are not many examples easily found of early 1700's breeches. Mainly because of the fact that all images show them worn with the waistcoats of the day, which are nearly as long as the breeches of the time and completely hide those garments! The sleeveless and sleeved waistcoats of that time were just above the knee and were always worn, as it would be inappropriate for a man to go without a waistcoat. {scandalous}

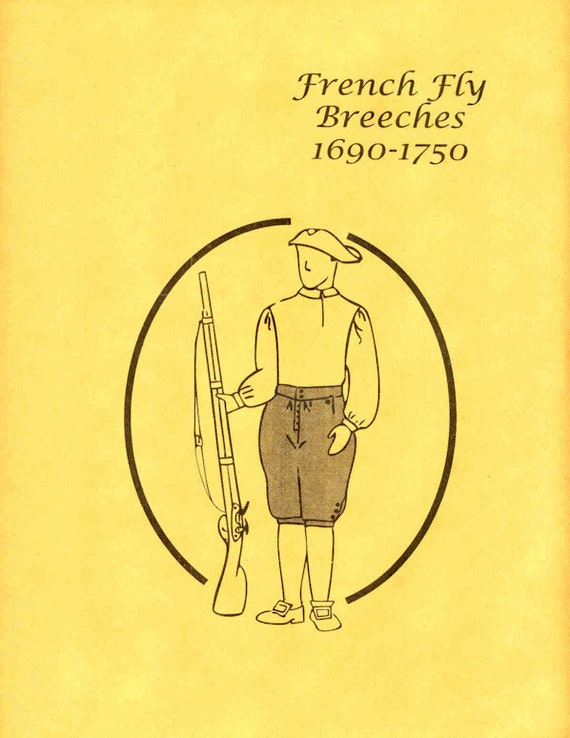
We do know that pre-Rev war, the men's breeches were a French Fly front closure. This is actually more like a modern pant construction than the Drop Front closure of later in the century.

The pockets were fun to do on this pattern! The instructions seemed bizarre, but I just kept following step by step, and it was like magic! Such fun! 

The images below are of a pair of breeches I just finished this week! This heavy chocolate brown linen was fabulous to work with. It along with these beautiful German Silver domed/rimmed buttons are from Wm. Booth Draper. They are a fantastic supplier for all your historical costuming needs!


TG123W - 1690 – 1750 Men’s French Fly Breeches Pattern

I used this pattern found on Etsy to make these breeches. I was fairly happy with the pattern, but the directions where a little off. I had to take the project to my historic sewing mentor to figure out several steps, and we kind of re-worded things to make more sense and re-worked parts to make it work properly. Also, most of the steps were using modern construction; so some things were changed to retain a closer authenticity. 

Let me know what you think!! 

Thanks for reading - Kerry

Thursday, February 6, 2014

Muslin 1710 Shirt - Hope Purple is okay for a guy...

I've been commissioned to make a gentleman's costume from 1710-1720. It's very specific and I'm working on the pattern drafting and muslin fitting pieces.

The 'third hand' comes in handy for hand sewing work. 


It's just a brick, with a rice bag on top, covered in wool. :^) Doubles as a pin cushion. 


Hand sewn shirt hems. Wrong side view.


Right side view. 

The final version of this shirt will be made from beached linen. Not blue cotton. But I like to just use cheap-what-I-have-stuff for muslins. 

Done! It's a little clown-ish with the blue/purpleness, but, it was great practice!


Till next week!
Kerry

Monday, January 6, 2014

Every Girl Loves Pink? Lace Girls Gown - Patchwork Curtains

I'm hoping to give you updates on what's going on in the studio once a week. Does that interest anyone?

We got about 8-9 inches of snow yesterday!! So we are enjoying another day snowed in!! :^) 

Last week I made this fun little girls gown. Pink silky fabric with a lace overlay. It was so much fun to make! Most little girls love pink, it's NOT my cup of tea, but it should be adorable on any little girl.  


The fabric flowers on the back are attached to the streamers which are detachable with hook and eyes to allow you to zip the zipper up and down. 


These flowers where fun to make and completely stitched by hand. They turned out lovely and better than I'd hoped!


What are you making? 


I've been commissioned to make some curtains and just began cutting them out today. 


I like using these fiskars rotary cutters, but it seems like I always manage to nick a spot or two on the blade, so every cut must be done twice so I can get a clean cut. It still is easier cutting when I am making lots of the same size shapes with my plastic-ruler-measurer-cutter-dealy-bobber. 


I'll let you know how these curtains progress. :^) 

But now, I'm going to go crochet with my Mom while she spins and watch the Walton's!

Have a pleasant, snowed in day!

-Kerry-


Friday, July 26, 2013

Friendship Shirts - Tutorial

I'm going to put together a little tutorial of how to make friendship shirts. You've seen friendship bracelets, and necklaces, and rings, and bread, but have you ever seen friendship shirts???


So, I'm always impressed by the bloggers who do these REALLY amazing Step-by-step tutorials for DIY's and I can't even imagine the amount of time it took them to make their item with all the stoping and snapping they were doing; not to mention how long it would take to organize all the shots and directions in their 20 mile long blog post.

To you, fearsome tute-blogger, my hat is off.

But, honestly, I don't need that much direction. So I skip over the tiny steps and leap to the end where I go, 'Oh, yeah, like that', then I run off to the sewing room and whip it up. So, this tutorial is gonna be like that; highlights and bam, your done. :^) If you need more steps, or have questions, I'm MORE than willing to answer anything in the comments below!


What You'll Need:
2 shirts of the same exact brand, style, size, but different colors/patterns

That's pretty much it. Well, besides a sewing machine, pins, scissors and matching thread. But we all knew that!

First off, check the sizing. If it doesn't fit you right, you wont wear it right and it wont look as cute and you wont like it and you just might give up on your sewing skill and chuck the machine out the window... But before you do that! Find a shirt that DOES fit you nice and lay it on top of both shirts to for this project and start pinning. Like this! vv
 
Pin the first shirt, then the second shirt underneath, following the lines of the shirt you know fits and you love because of it. Then you will stitch along the inside of this pinning line [or right on the pin line].

Remember to follow on up into the sleeves if they are larger then the sleeves of your favorite shirt. Then let the line decrease as you near the end of the sleeve.

Above is my two shirts altered to fit me from using a shirt I already love the fit of. [After this I trimmed a 1/4 inch seam allowance and surged the edges to finish.

 
Then I shortened the sleeves to 3/4 length and simply surged them to finish; didn't mess with any fancy finishing and it rolls up cute!

 
Now, fold your shirt in half, making sure the seams line up and it is very smooth. Then cut it down the middle. I did one layer at a time, the first...


... then folded that layer back and cut the second layer. [that way if there was a weird fold on the underneath layer, I wont just cut right through it and mess up my nice straight line]

 
Your shirt should look about like this now. Go ahead and do the same thing to the other one!

 
I almost forgot! Remove the tags before you cut the shirts in two. It will be easier.

 
Now for the awesome part! Take the right side of one color/pattern of shirt, and pin it right-sides-together with the left side of the opposite shirt. {make sure you have fronts to fronts and backs to backs}

 
another shot of the fronts pinned right sides together.
 
 
Don't do this. Due to the slippery satin trim it liked to slip unevenly. This is tacky. Get out that seam ripper and make it right. Even Steven!

 
First shirt done! Still inside out, stitched and surged.

 
Do the same thing with the next shirt and you have a cute shirt and an extra to give to a friend!
 
 
From this...
 
 
...to this!
 

__________________________________
 
Enjoy! Have a great weekend!
Kerry